TLDR; I upgrade my soldering station. Design and print standalone stand for the handle. Include some ranting and story behind it.
My first homemade soldering station was made 8 years, more or less. It still works just fine. During the years, I’ve made a few more giving to friends. They haven’t complained, yet! (haha).
I have opensourced my solder station here https://github.com/ceezblog/T12-Solder-station

My first soldering station was HYLKKO 936, a Yihua 936 clone and chinesium copy of Hakko FX888D. As you might have guessed it, it wasn’t that bad, certainly an upgrade from cheap soldering iron that has a no temperature control circuitry. It took quite sometime for the iron tip (900M series tip) to get up to temperature. There was no sleep function, pretty much the tip stay hot up to target temperature as long as it powered.
The problem is, I forgot to turn it off a dozen times. Yes, I left the solder iron 300°C hot for half a day until I turned off the light, going to bed. And just at that moment I saw the only frigging LED of the solder station was blinking on for a brief moment… That only red LED turns on when the temp rising up but off when reaching the correct temp. If it is idling at target temperature, that LED only turns for half a second then off for 10-20 seconds. The good news was it didn’t pump power to the iron tip constantly, but only top it up to keep the temp at target. But still, leaving something burning hot unattended was really really bad idea.
There are two scenarios here:
- They forgot to put an extra LED or on the face plate to help user like me to turn it off, or just want shave off $0.001 cost of an LED and a resistor.
- They don’t care about user experience, the iron does get hot and that is enough, wrap it and sell it
I tend to think the latter is the case here. This is what China is well-known of, the Chabuduo mindset, google it.
At some point, I had to make a simple buzzer that beeps every 5 minutes to remind me to turn it off. Now it is permanently a heat set press jig for installing threaded brass insert. It did serve its job to help me build my own soldering station though.
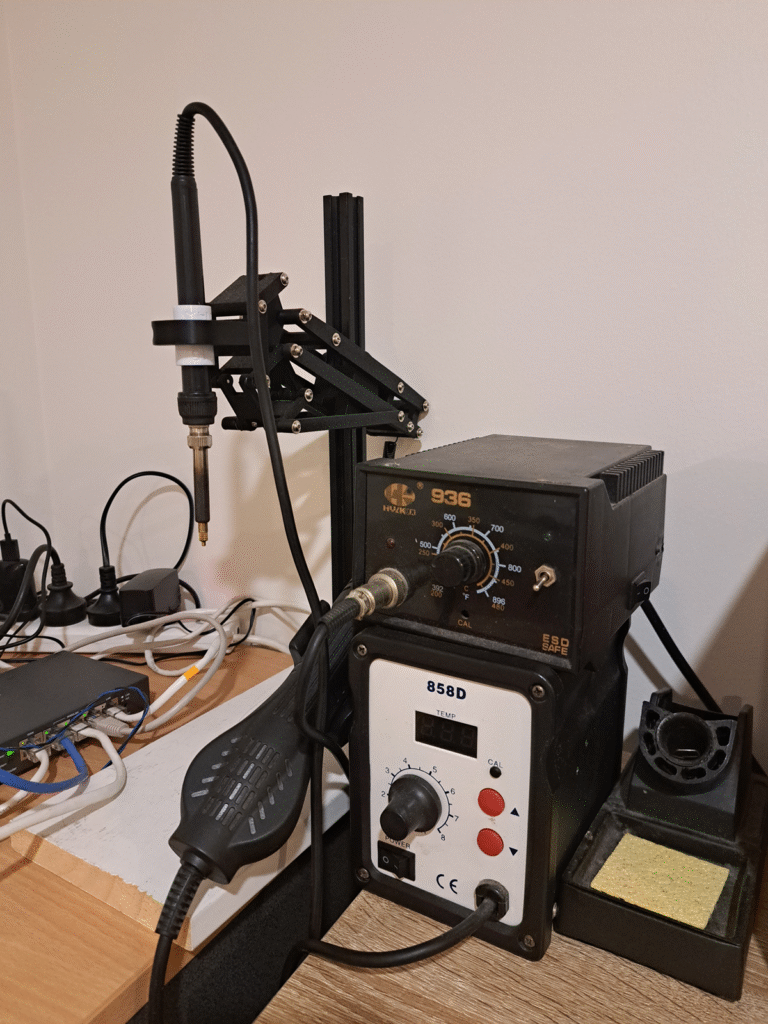
Recently, I moved house, set up new home-lab and I pretty much rearranged everything. I have 2 active soldering stations + hot air station now, exclude that weird heat set press jig.

Before that, the soldering iron stand was bolted to the side of the case as one piece, very convenience, having them easy to pack up to go. The case was ABS print, still strong after years of service.

Imagine when I stack 2 of them on top of each other. Yeah, kind of awkward with the iron stand on the side. Thus, I need a standalone stand for the handle.
What a big deal? just go buy a stand from aliexpress or go search Makerworld, printable and print one? Yeah, nah.
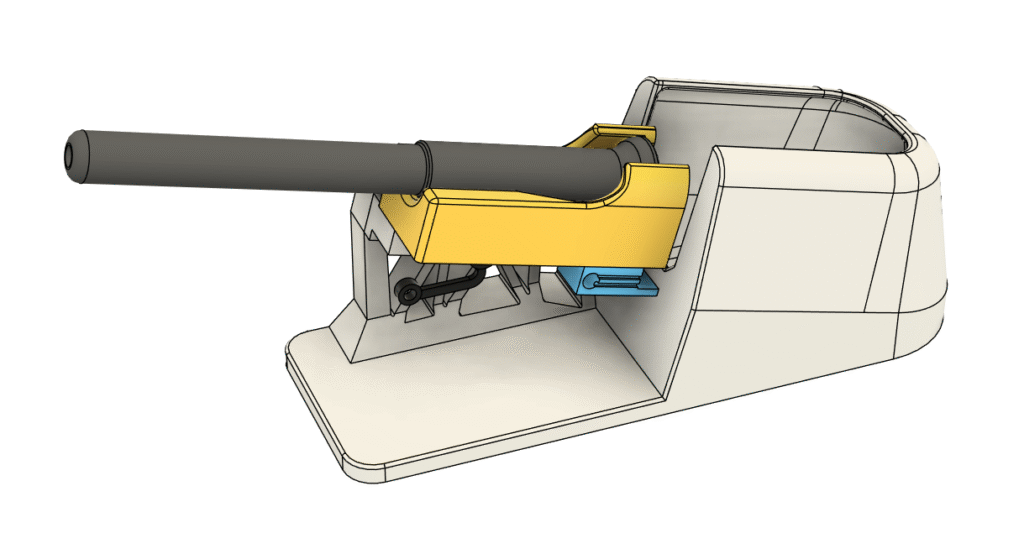
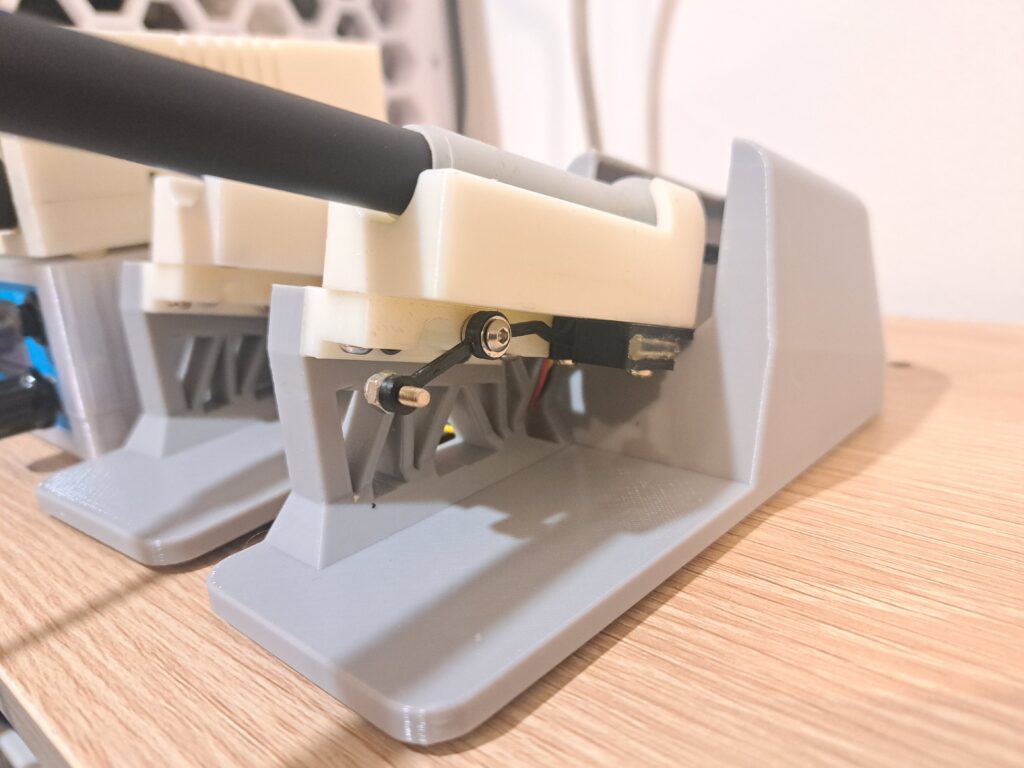
I have a custom optical sensor (photointerrupter) to detect if the handle is docking, so it will trigger sleep function of the station. The sleep function will keep the tip around 200°C for 5 minutes then turn off the heater completely afterward. This is just for safegarding for user who forgets to turn off their stuffs like me! So, even the case I forgot to turn soldering station off for days, it’d still be safe, the iron would be room temperature cold.
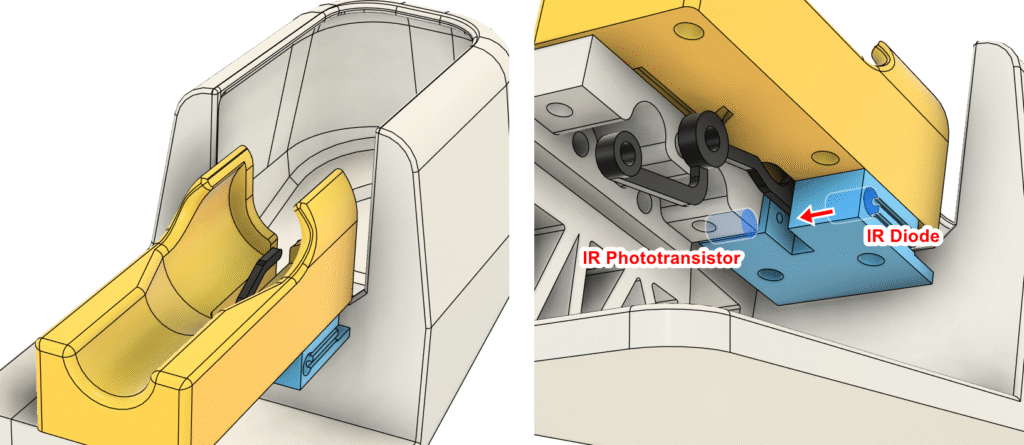

When the handle is put in the stand, the black lever is pushed down and blocks the IR beam –> hence it called photointerrupter. Pretty much the same as off-the-shelf part, but I don’t have to make a small PCB to hold it. Making PCB and design a way to mount that photointerrupter was kind too much to do. So I rolled with my custom design, it was easier, I don’t have to go back and forth between fusion and kicad.
Some pictures compare the first PCB vs the second iteration
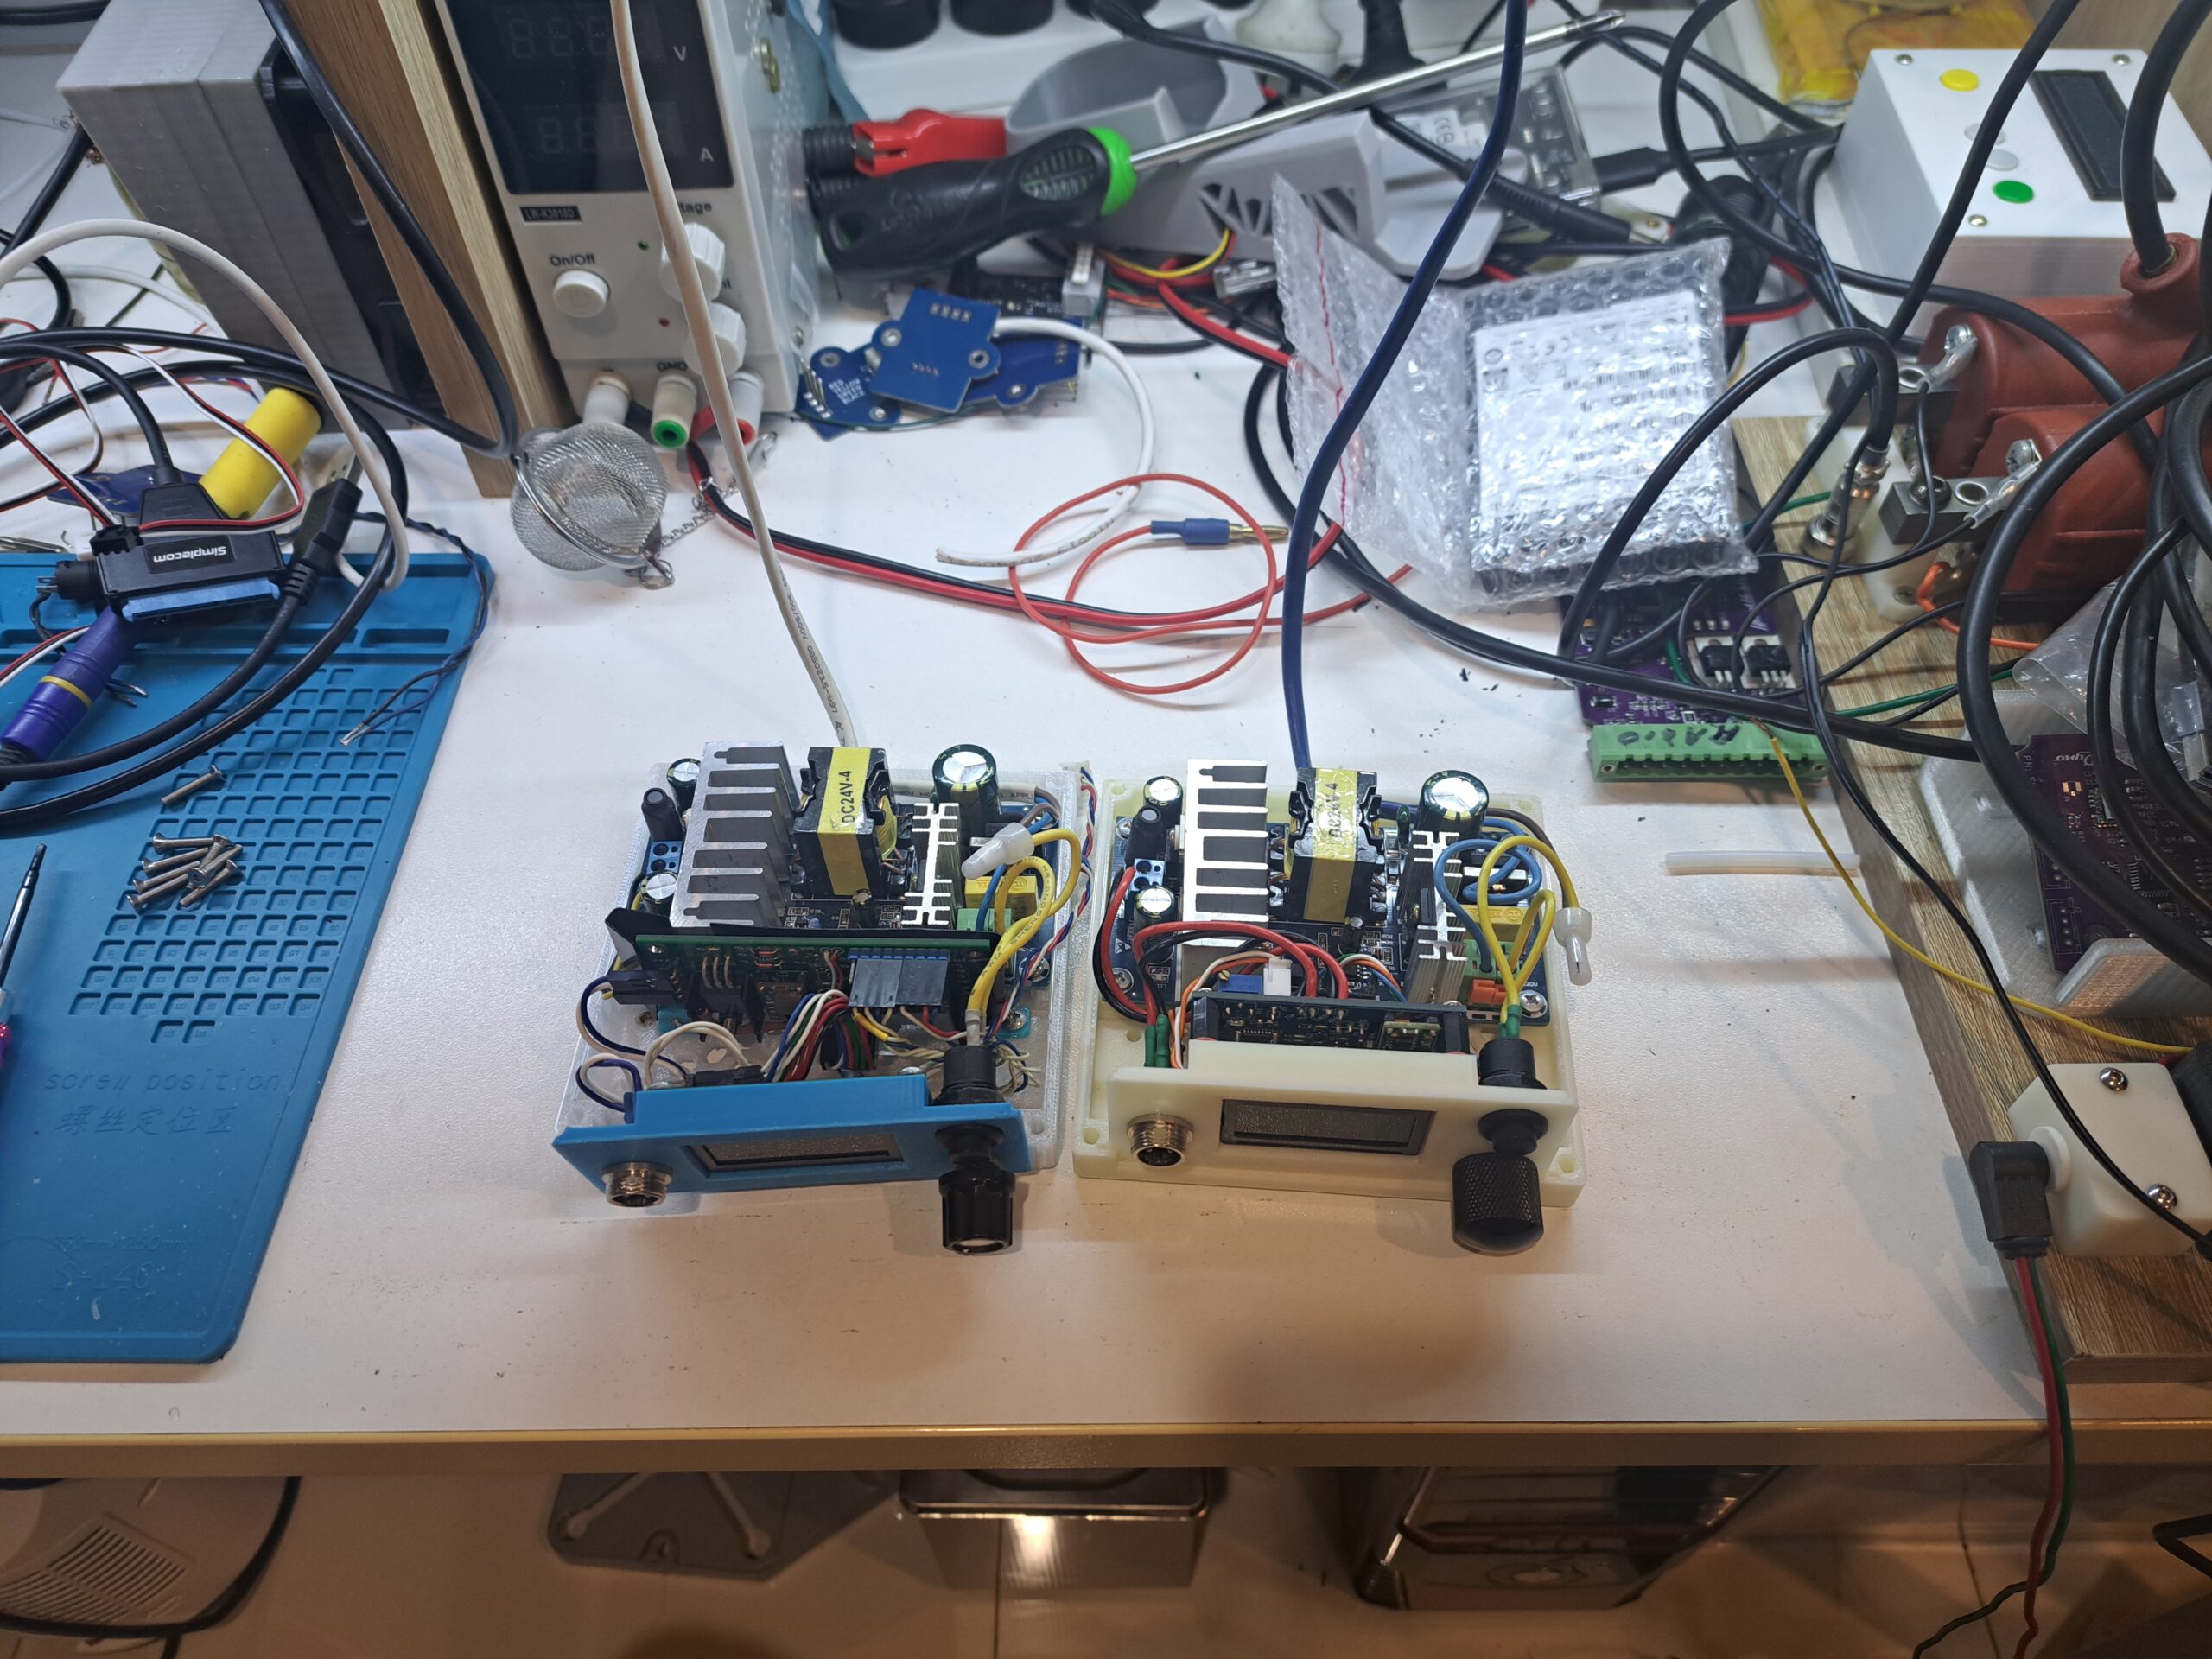
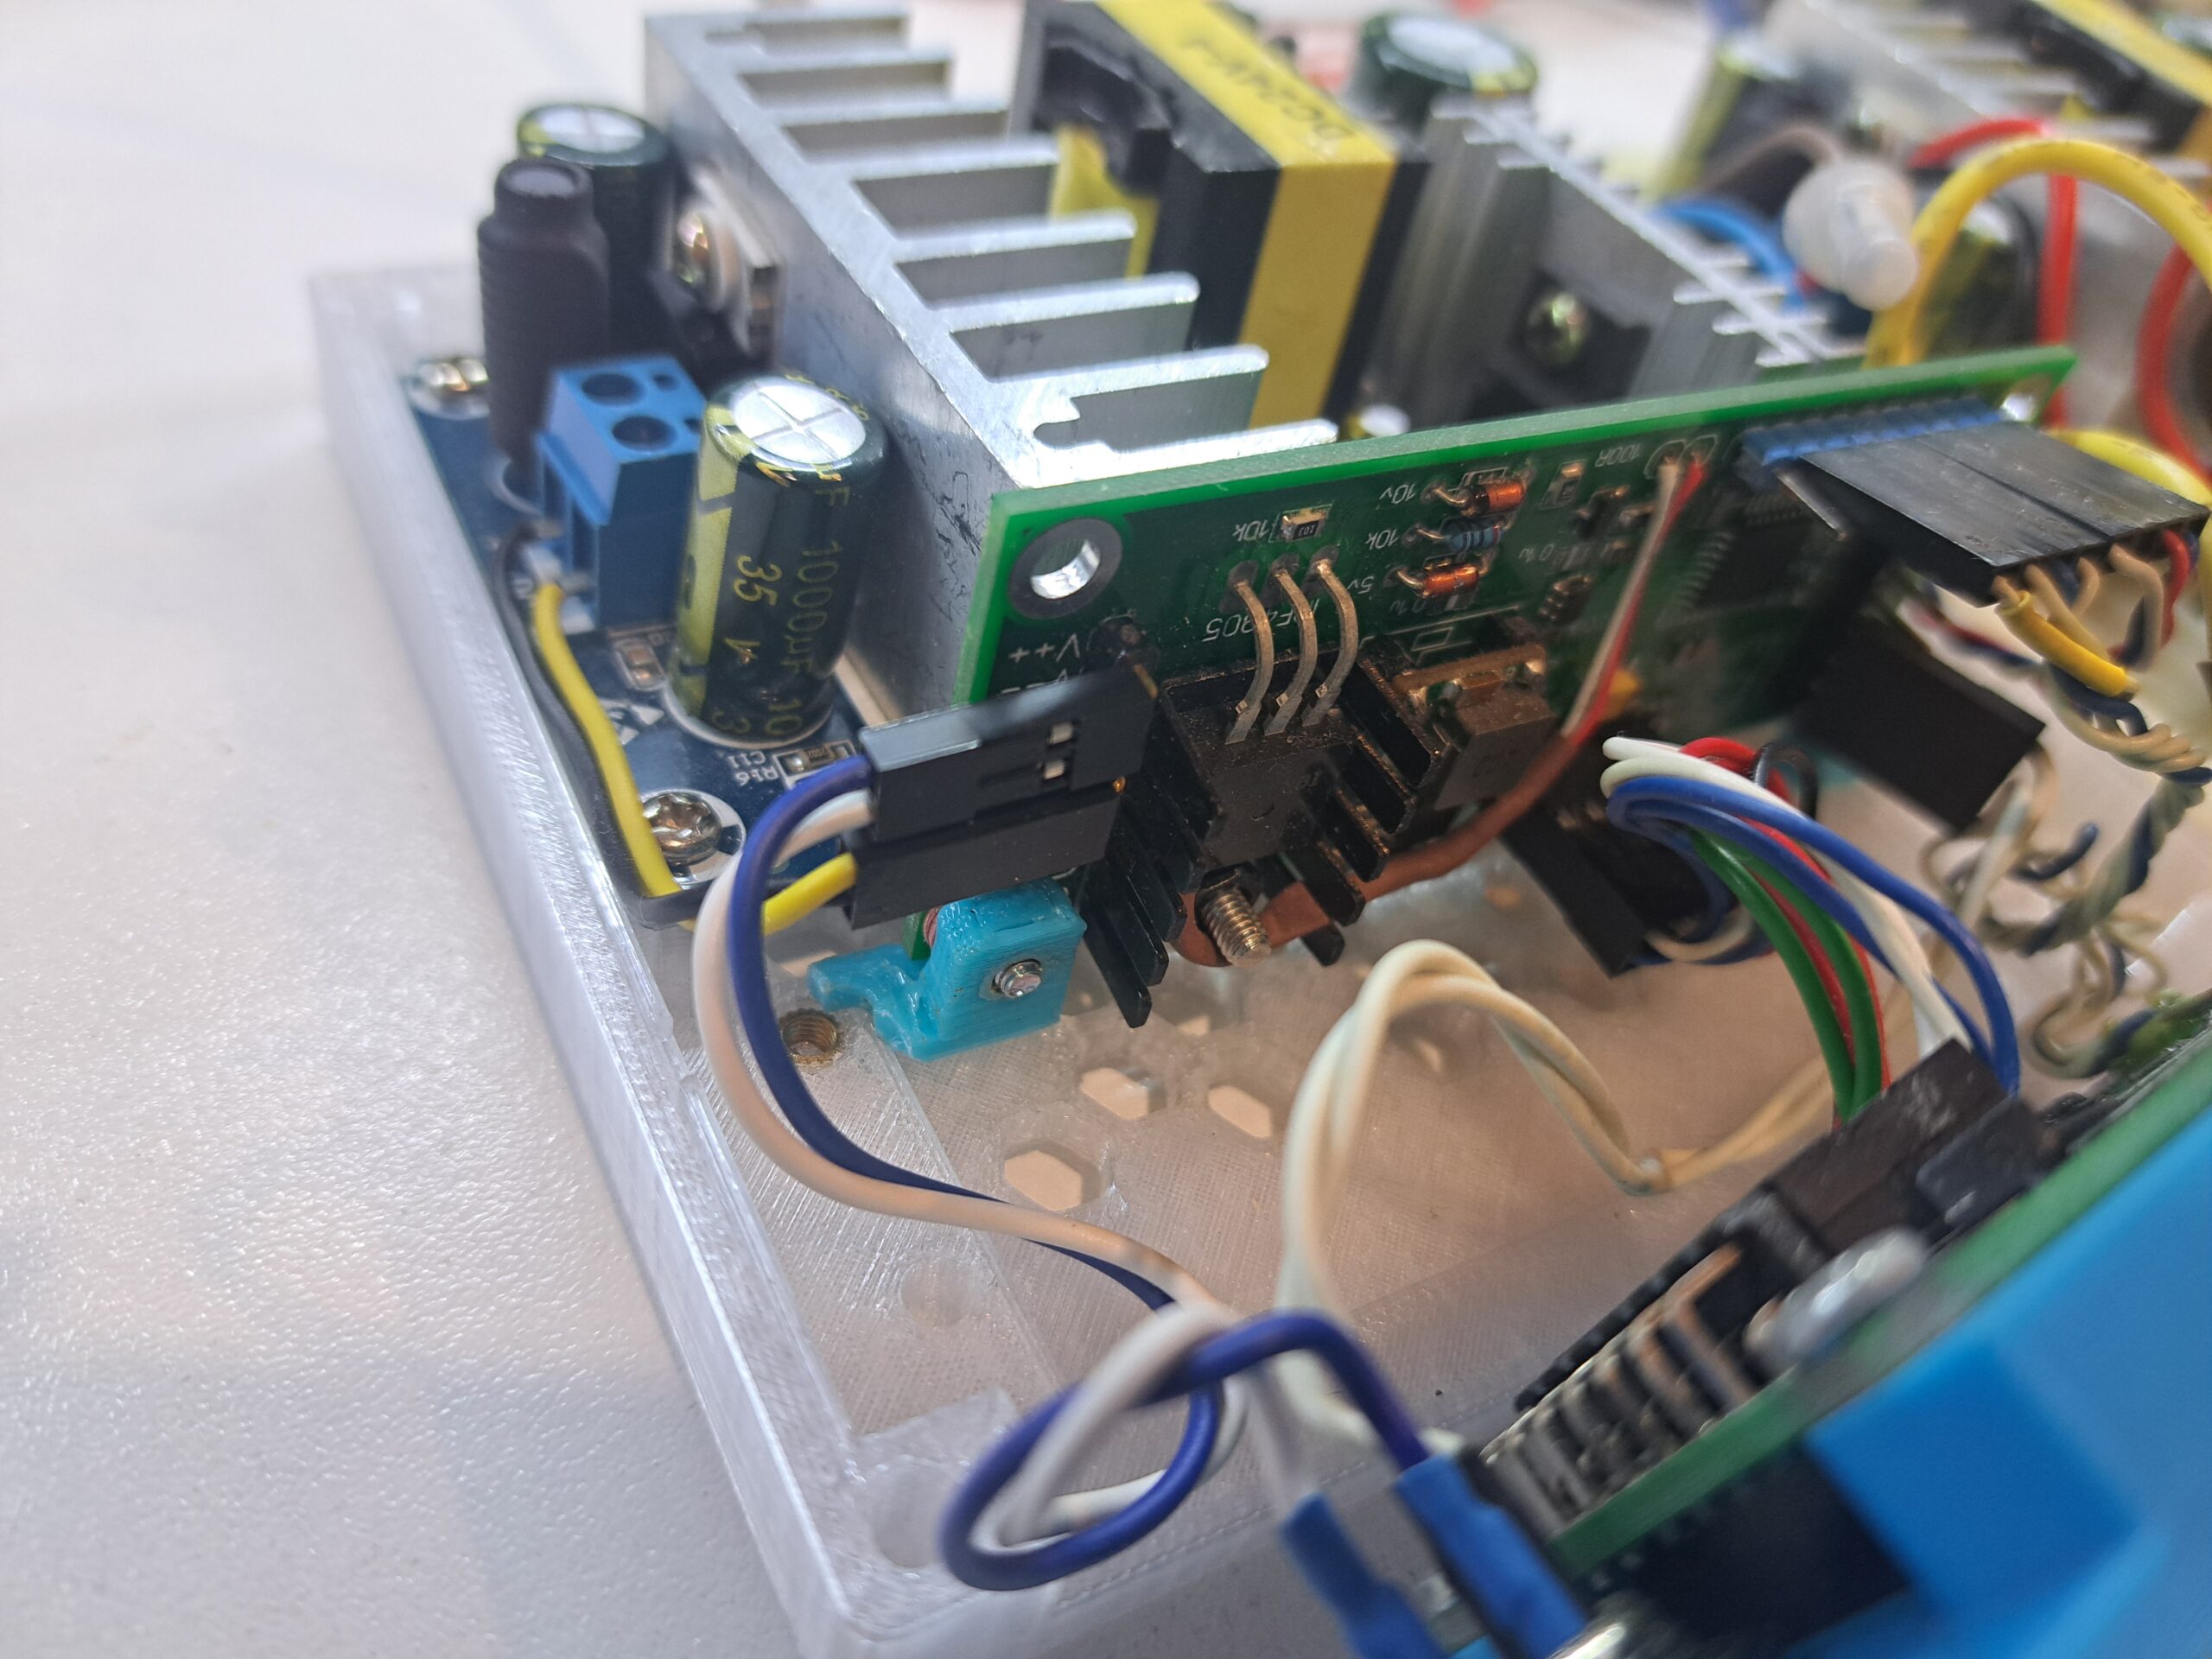
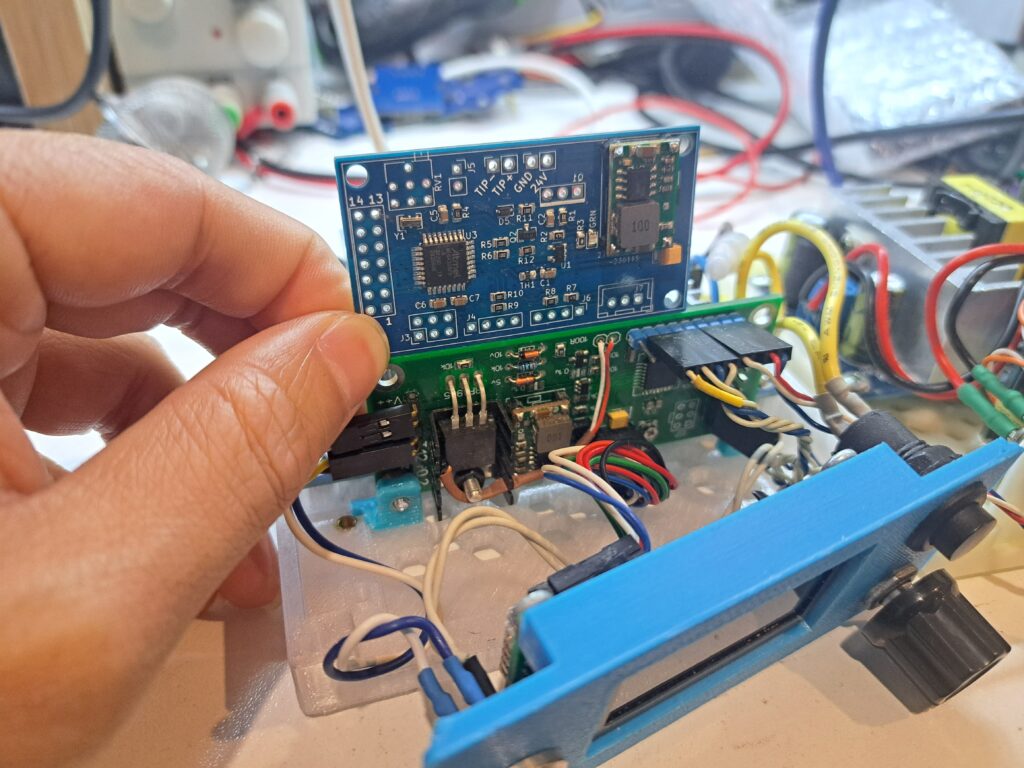
The second iteration has some differences in pin configuration as well as minor change in circuitry:
- Different pins for driving the LCD0802
- Employ AMS1117 as post filtering, improve temperature reading. First iteration use mini360 directly without post filtering
- Use a simple LED (forward bias) instead of zenner diode (reverse bias) to clamp voltage at input of LMV321
- Use 0805 thermistor just to measure temperature inside the case, no need to measure temperature at the MOSFET
Differences in docking sensors
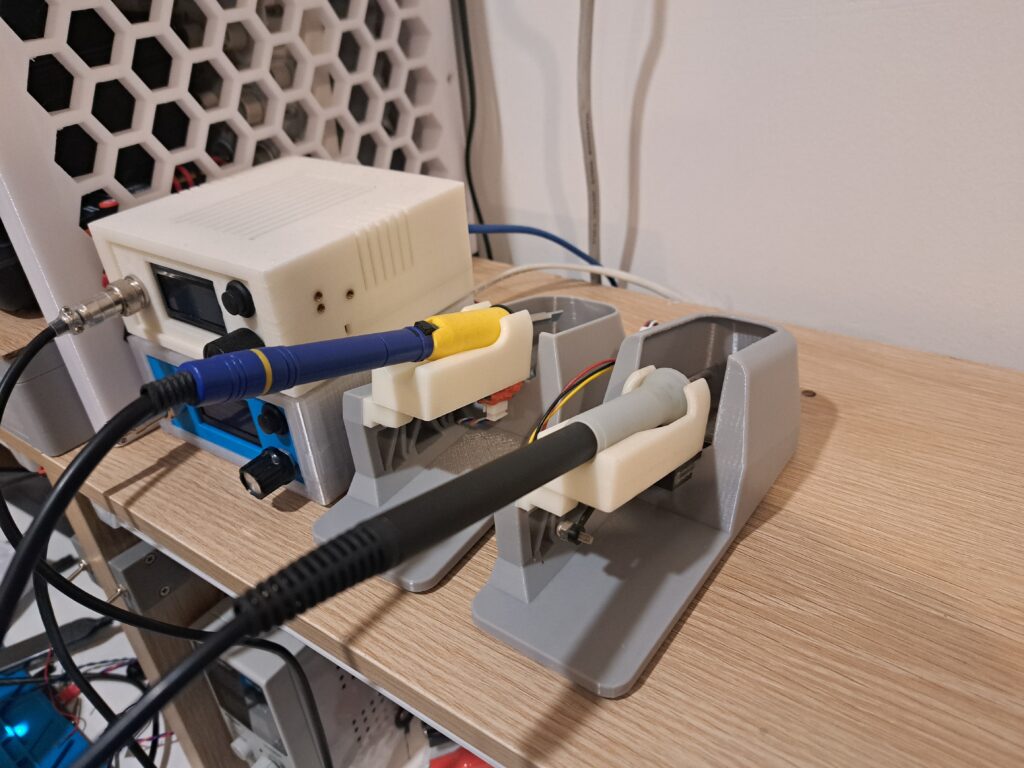
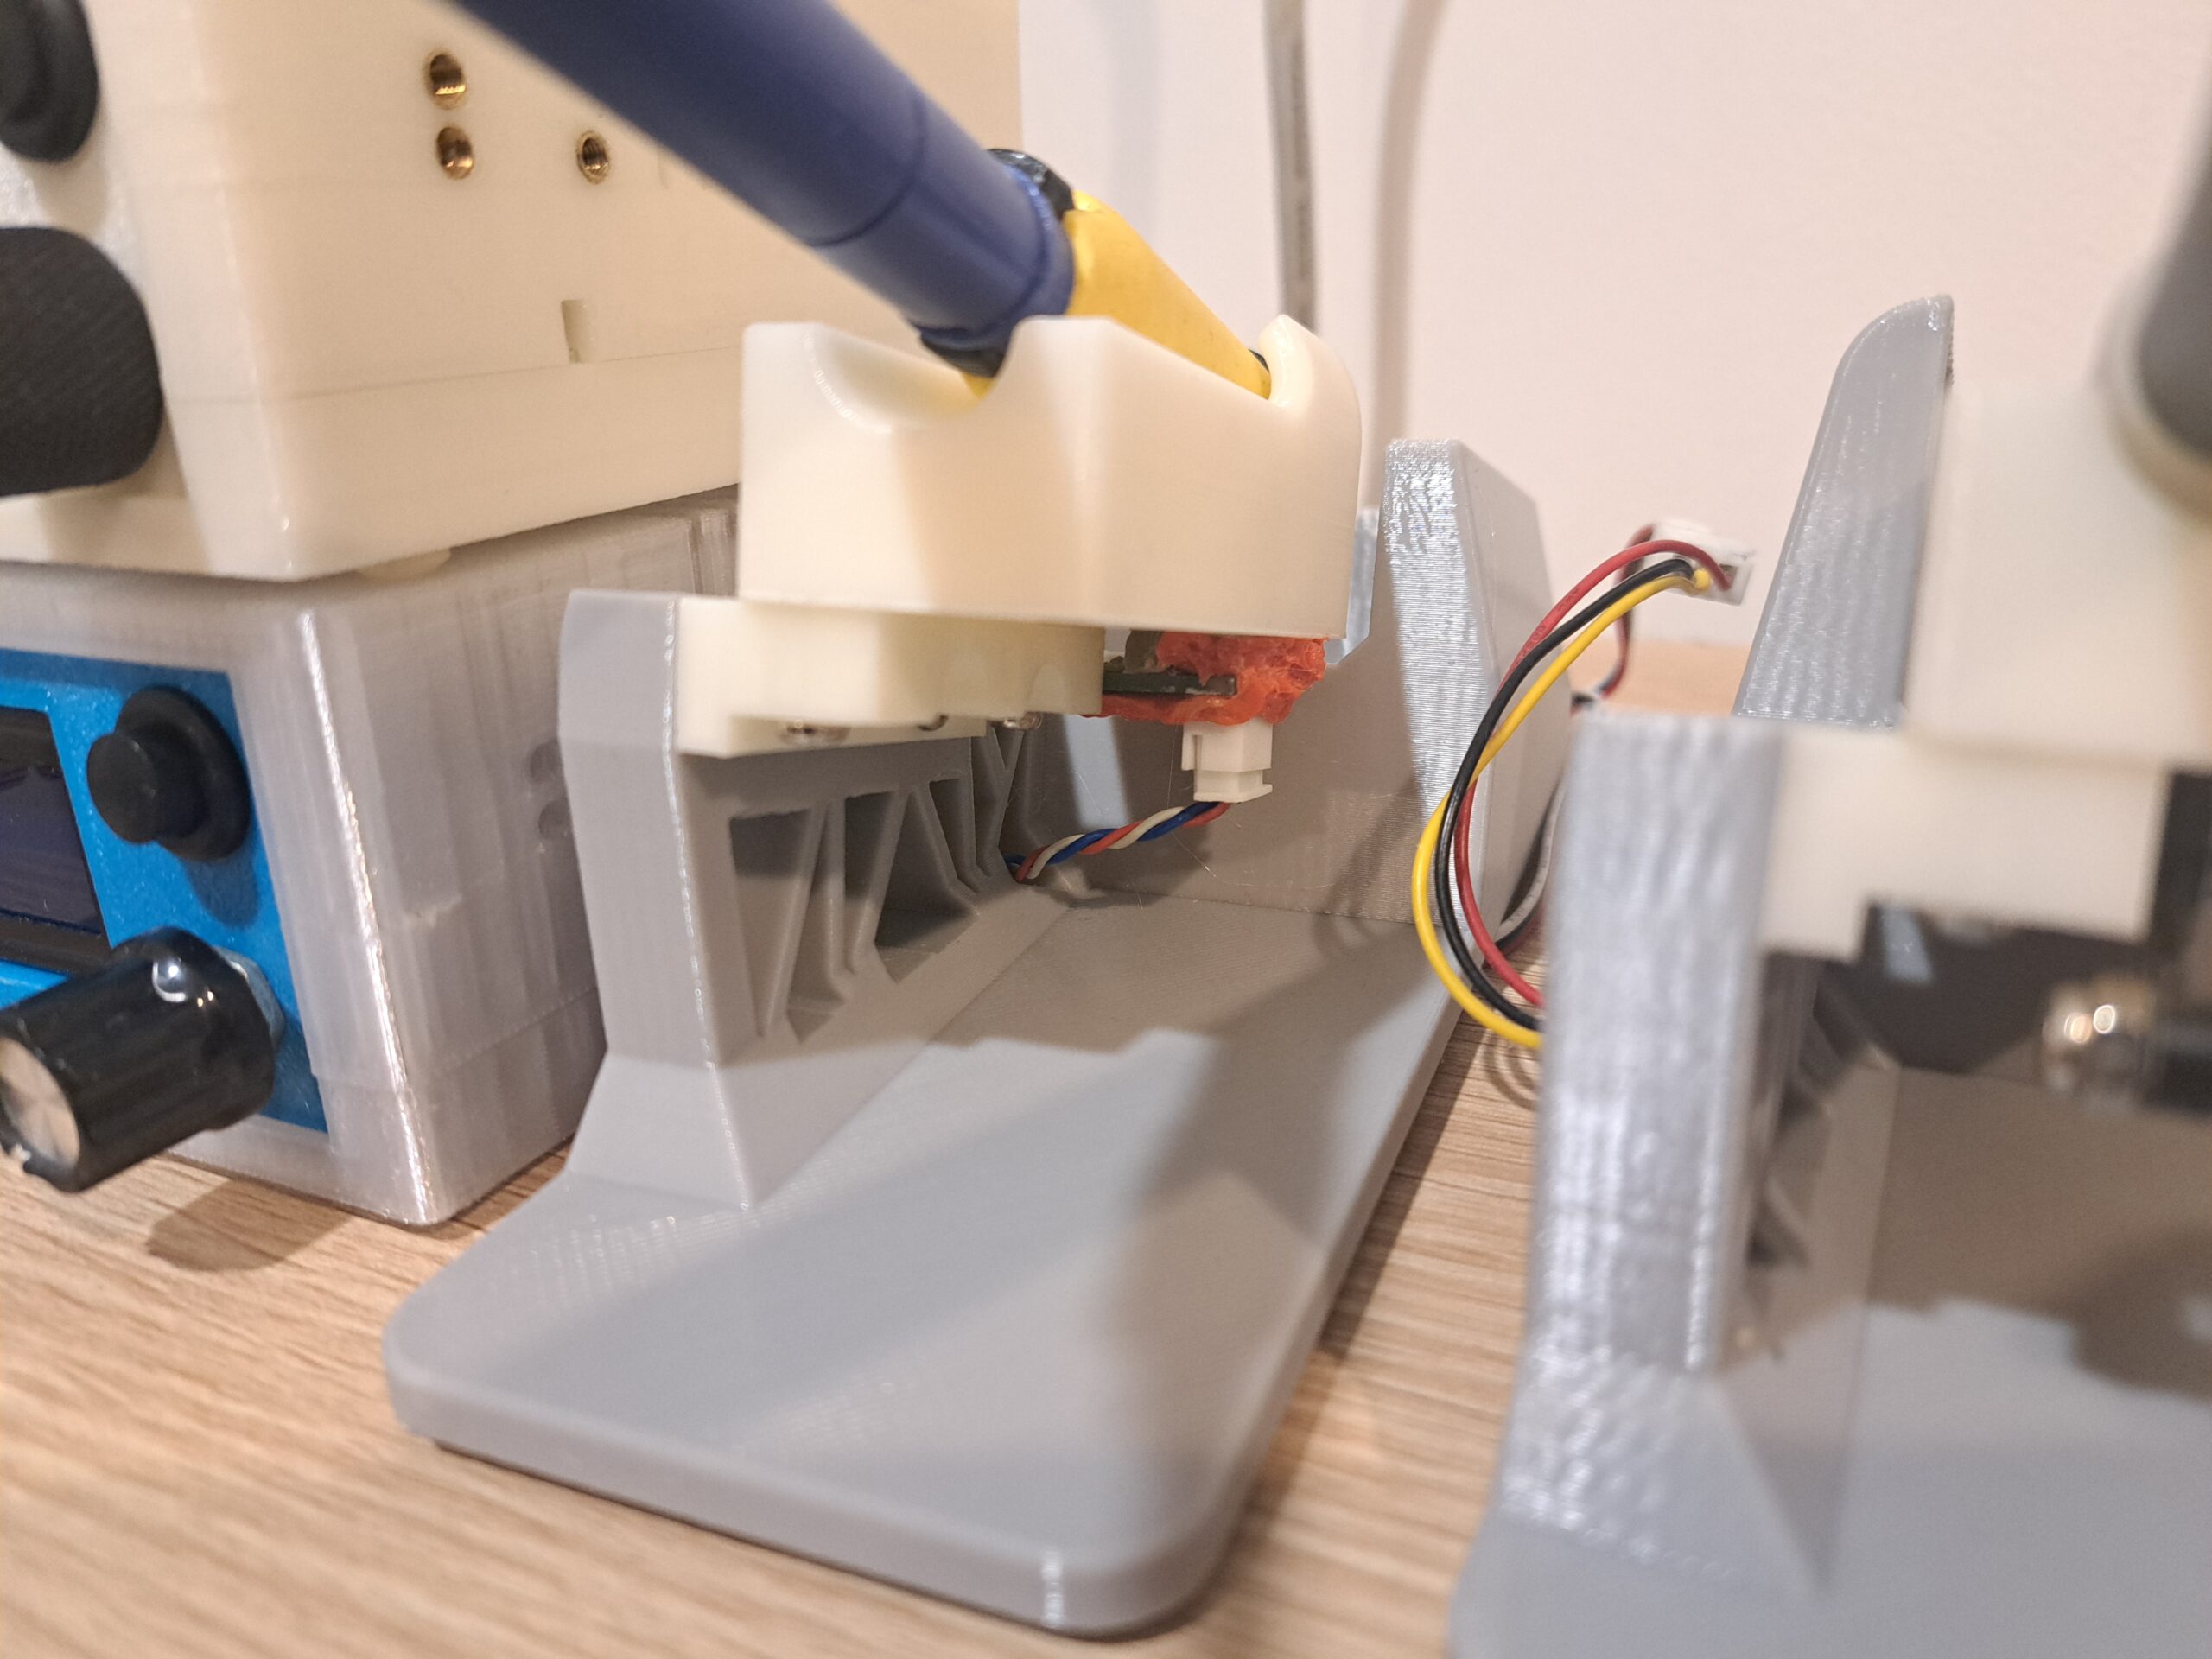

The left one used TCRT5000 in a module for line tracking sensor, as my first experiment. It was basically 2 LEDs, IR diode and IR phototransistor put inside a small plastic case. It works by detecting reflecting IR beam from a white-ish surface for a HIGH level output, while dark surface reflect much less IR beam for a LOW level output.
But of course it only works with bright color handle! Yeah nah ~_~.
Then I did some experiments with this reflection method. It never worked correctly. Then I changed the sensor design to interrupting instead of reflecting and it worked much more reliable.
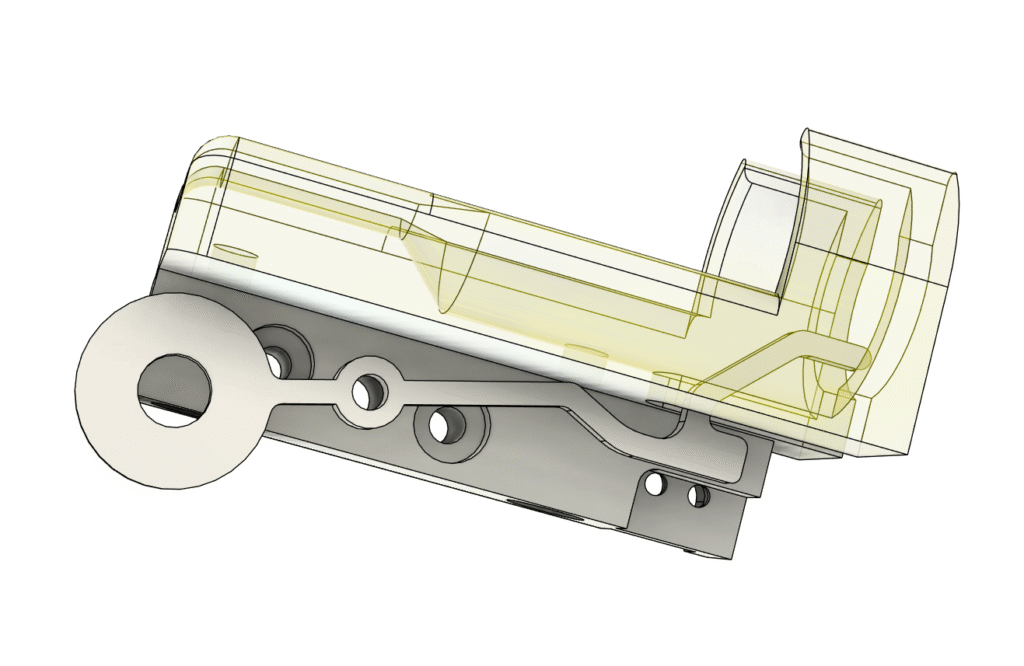
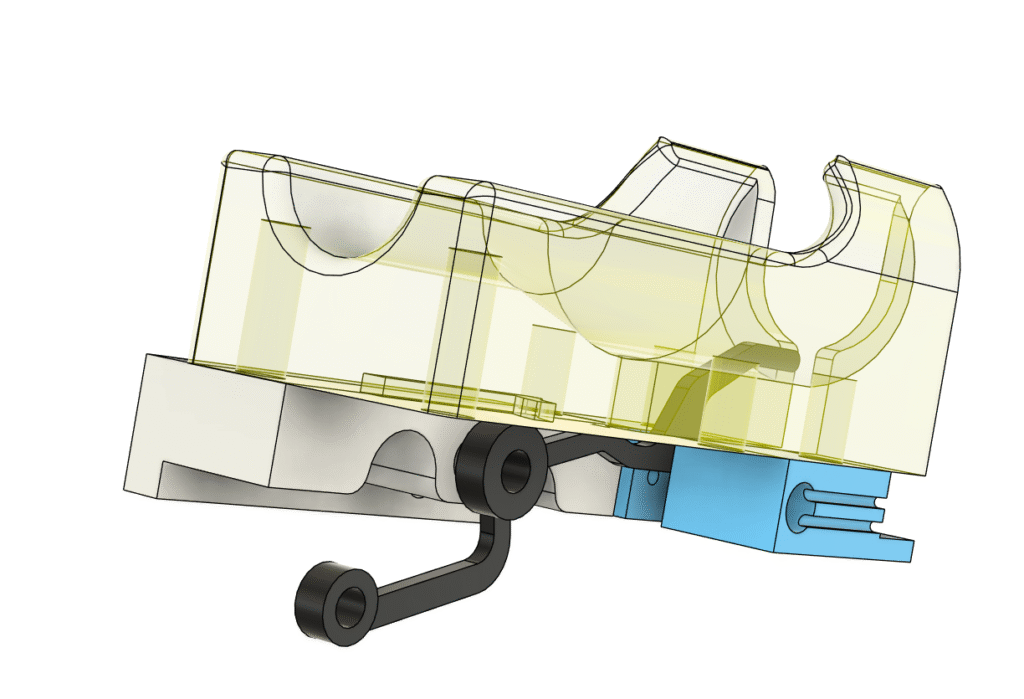
If you read to this point, congratulation! You are just bored and have nothing to do 😀
And you probably wonder why would I want 2 soldering stations? The answer is: desodering SMD stuffs using 2 soldering irons, like 0805 or similar size. I just need to heat up 2 ends of the part and pick it up just like a tweezer.
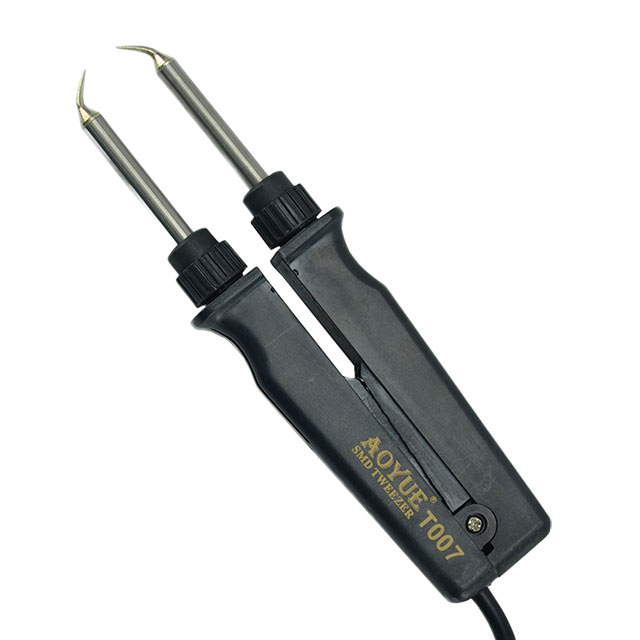
Hotair station is handy for SMD, but sometime this tweezer trick is a lot faster and safer especially working with PCB that has plastic connector such as JST XH. You simply don’t want to deform the connector, yeah?
So yeah, after 8 years the very first soldering station I made still runs just fine. The cost of each station is about AU$60. Compare to Hakko FX951 ~AU$400 of the same function, it’s not bad at all.
If you want the stand design by any chances, you can go to my github https://github.com/ceezblog/T12-Solder-station and look the the STL file in folder Enclosure


Leave a Reply